 Open Voice Operating System - Buildroot Edition
Auto detection and configuration of HAT's
The buildroot OpenVoiceOS editions is considered to be consumer friendly type of device, or as Mycroft A.I. would like to call, a retail version. However as we so not target a specific hardware platform and would like to support custom made systems we are implementing a smart way to detect and configure different type of Raspberry Pi HAT's.
At boot the system scan the I2C bus for known and supported HAT's and if found configures the underlying linux sound system. At the moment this is still very much in development, however the below HAT's are or should soon be supported by this system; - ReSpeaker 2-mic HAT - ReSpeaker 4-mic Square HAT - ReSpeaker 4-mic linear / 6-mic HAT - USB devices such as the PS2 EYE - SJ-201 Dev Kits - SJ-201 Mark2 retail device
Snapcast Client & Server
TODO - write docs
Remote shared folder access (SMB - Windows)
Your OpenVoiceOS device is accessible over the network from your Windows computer. This is still a work in process, but you can open a file explorer and navigate to you OpenVoiceOS device.
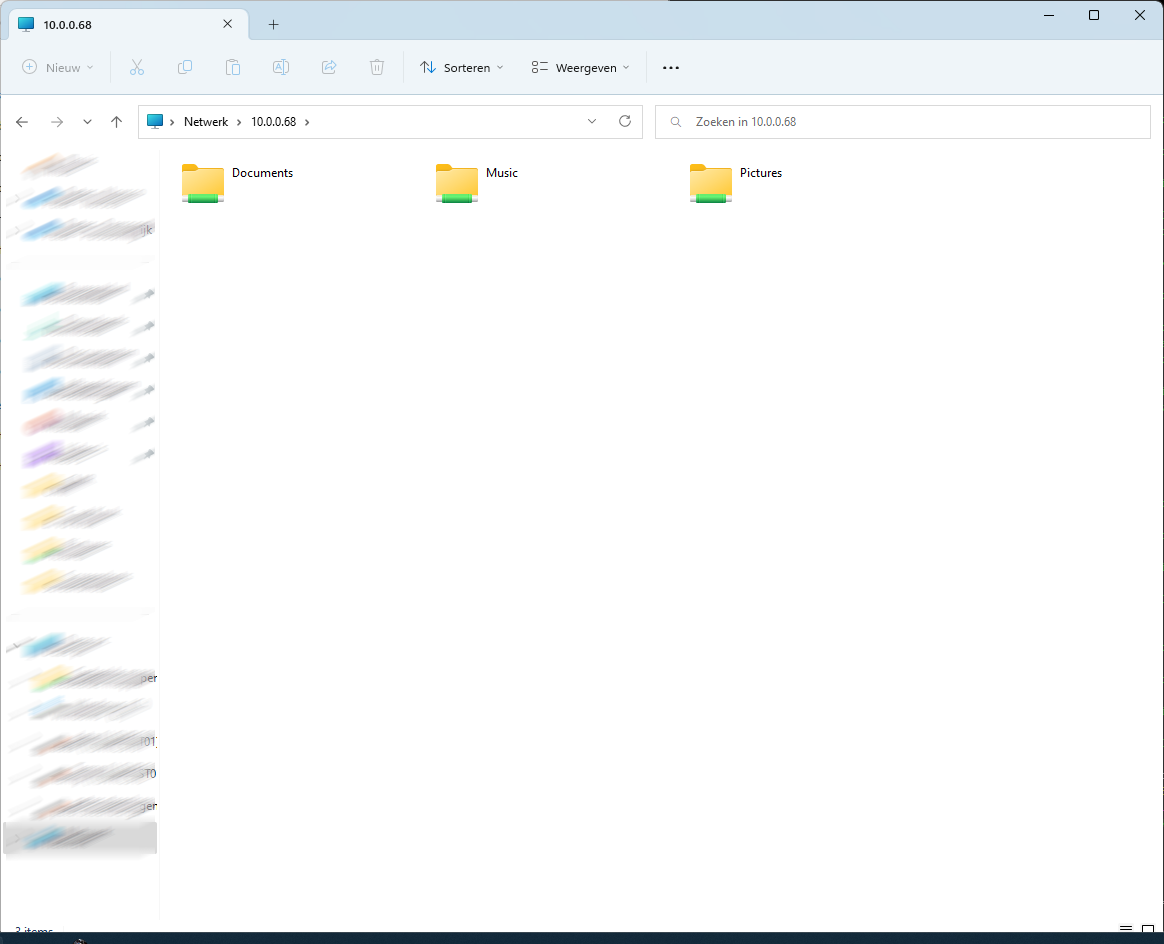 At the moment the following directories within the user's home directory are shared over the network.
- Documents
- Music
- Pictures
These folders are also used by KDE Connect file transfer plugins and for instance the Camera skill (Hey Mycroft, take a selfie) and / or Homescreen Skill (Hey Mycroft, take a screenshot)
At the moment the following directories within the user's home directory are shared over the network.
- Documents
- Music
- Pictures
These folders are also used by KDE Connect file transfer plugins and for instance the Camera skill (Hey Mycroft, take a selfie) and / or Homescreen Skill (Hey Mycroft, take a screenshot)
Remote shared folder access (NFS - Linux)
In the near future the above Windows network shares are also made available over NFS for Linux clients. This is still a Work In Progress / To Do item.
Development.
At this moment development is in very early stages and focussed on the Raspberry Pi 3B & 4. As soon as an initial first workable version is created, other hardware might be added.
Source code: https://github.com/OpenVoiceOS/ovos-buildroot
Build Environment
Only use x86_64 based architecture/ hardware to build the image.
The following example Build environment has been tested :
- Architecture: x86_64
- Hardware: Intel Core i5 processor, 8GB RAM, 240GB SSD (you can build on less RAM (2GB) and slower storage but more RAM, faster storage = quicker image building)
- OS: Ubuntu 22.04 LTS desktop
Installing System Build Dependencies
The following system packages are required to build the image:
- gcc
- subversion
- qttools5-dev
- qttools5-dev-tools
- python
- git
- make
- g++
- curl
- wget
- qtdeclarative5-dev
- skopeo
- jq
- podman
The following firewall ports need to be allowed to the internet.
In addition to the usual http/https ports (tcp 80, tcp 443) a couple of other ports need to be allowed to the internet : - tcp 9418 (git). - tcp 21 (ftp PASV) and random ports for DATA channel. This can be optional but better to have this allowed along with the corresponding random data channel ports. (knowledge of firewalls required)
Getting the code.
First, get the code on your system! The simplest method is via git.
- cd ~/
- git clone --recurse-submodules https://github.com/OpenVoiceOS/OpenVoiceOS.git
- cd OpenVoiceOS
Patching Buildroot.
(ONLY at the first clean checkout/clone) If this is the very first time you are going to build an image, you need to execute the following command once;
- ./scripts/br-patches.sh
This will patch the Buildroot packages.
Building the image.
Building the image(s) can be done by utilizing a proper Makefile;
To see the available commands, just run: 'make help'
As example to build the rpi4 version;
- make clean
- make rpi4_64-gui-config
- make rpi4_64-gui
Now grab a cup of coffee, go for a walk, sleep and repeat as the build process takes up a long time pulling everything from source and cross compiling everything for the device. Especially the qtwebengine package is taking a LONG time.
(At the moment there is an outstanding issue which prevents the build to run completely to the end. The plasma-workspace package will error out, not finding the libGLESv4 properly linked within QT5GUI. When the build stopped because of this error, edit the following file;
buildroot/output/host/aarch64-buildroot-linux-gnu/sysroot/usr/lib/cmake/Qt5Gui/Qt5GuiConfigExtras.cmake
at the bottom of the file replace this line;
_qt5gui_find_extra_libs(OPENGL "GLESv2" "" "")
And replace it bit this line;
_qt5gui_find_extra_libs(OPENGL "${CMAKE_SYSROOT}/usr/lib/libGLESv2.so" "" "${CMAKE_SYSROOT}/usr/include/libdrm")
Then you can continue the build process by re-running the "make rpi4_64-gui" command. (DO NOT, run "make clean" and/or "make rpi4_64-gui-config" again, or you will start from scratch again !!!)
When everything goes fine the xz compressed image will be available within the release directory.
Booting image from sd card for the first time (setting up Wi-Fi and backend).
1.Ensure all required peripherals (mic, speakers, HDMI, usb mouse etc) are plugged in before powering on your RPI4 for the first time.
2. Skip this step if RPI4 is using an ethernet cable. Once powered on, the screen will present the Wifi setup screen ( a Wifi HotSpot is created). Connect to the Wifi HotSpot (ssid OVOS) from another device and follow the on-screen instructions to set up Wifi.
3.Once Wifi is setup a choice of Mycroft backend and Local backend is presented. Choose the Mycroft backend for now and follow the on-screen instructions, Local backend is not ready to use yet. After the pairing process has completed and skills downloaded it's time to test/ use it.
Accessing the CLI.
- SSH to ip address of RPI4
- default credentials 'mycroft/mycroft'